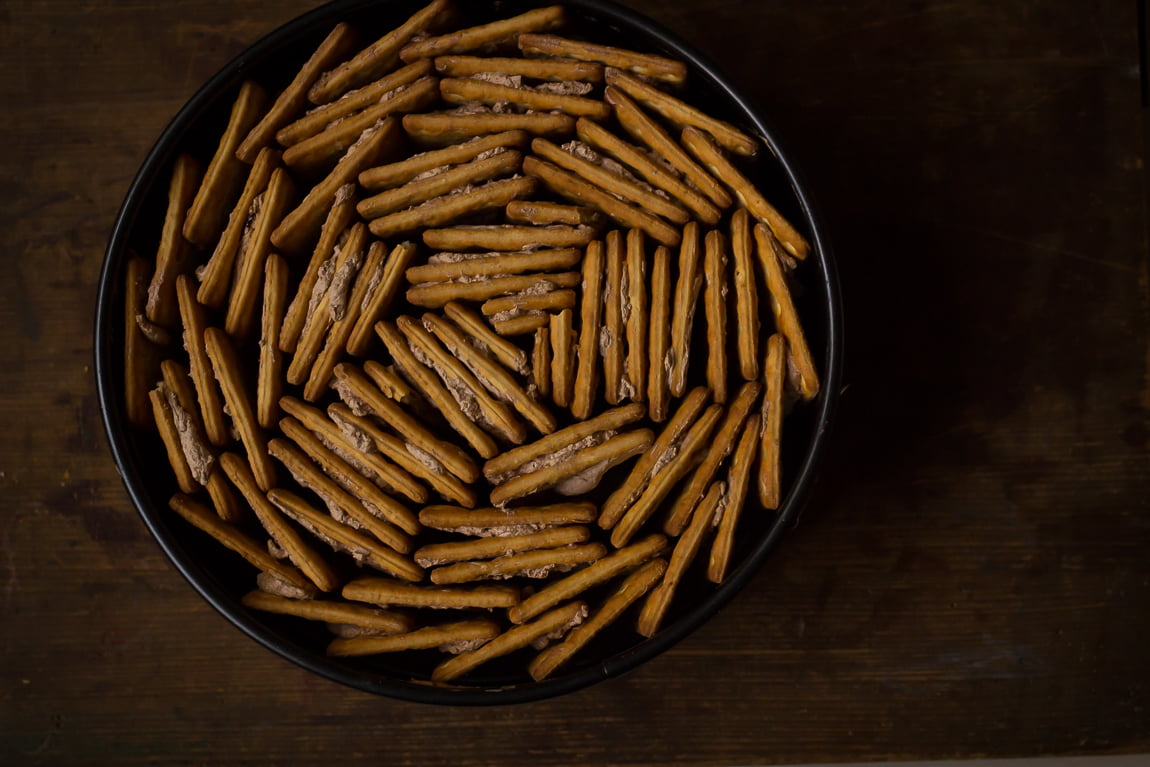
No Bake Biscuit Cake is a make-ahead cake which is set in refrigerator overnight and then sliced before serving. It is made with assembling biscuits of your choice and filling them with whipped cream. Then topping it with ganache and assorted homemade chocolate decoration on top.

I look for opportunities to bake cakes. But this heat is making it impossible to turn on the oven or make an effort to bake.

So I opted for a no-bake cake for a friend’s birthday.

The putting together of cake is very simple and easy with few make ahead ingredients like coffee decoction, sugar syrup, ganache, whipped cream, etc.

The crackers need to be square or rectangular in shape.

I strongly suggest soaking, dipping or brushing the crackers in coffee decoction. I didn’t do it and some portions of the cake were dry to taste due to crackers.

Using parchment paper on the circumference is very important, else the crackers start falling apart while demolding.

This cake would taste best with hot cuppa. Bits of crunch with loads of cream and chocolate is the best combination ever.
How to Make N0-Bake Chocolate Biscuit Cake?
No-Bake Biscuit Cake
Ingredients
- 600 gram digestive biscuits or crackers
- 2 cups heavy cream
- ¼ cup cocoa powder unsweetened
- 3 tsp instant coffee powder
- ¼ cup coffee decoction
- chocolate ganache for drip
- chocolate decoration
Instructions
- Line the base of a 9 inch springform pan as well as the circumference using parchment paper. Prepare ganache and set aside to cool. Make coffee decoction by mixing 1 tablespoon of coffee powder in ¼ cup of water and allow it to sit for half an hour. If coffee decoction is not your thing, you can use simple sugar syrup for brushing. Whip cream into soft peak stage and add cocoa powder and coffee to it. Continue whipping till stiff peak stage.
- Very lightly brush the crackers on both sides with coffee decoction or sugar syrup. Now spread whipping cream on a cracker and arrange along the wall. Keep spreading whipped cream and continue stacking crackers, till you reach the center. Take big scoops of whipped cream and push it down gently between stacks of crackers as best as you can. Smoothen the top nicely. Cling wrap the pan and chill for 1 hour.
- Remove the cling wrap and flip open the springform pan. Gently lift the sides of the pan. Remove the parchment paper from the circumference. Again spread more whipped cream on the sides till the crackers are completely hidden. Smoothen it out. Pour ganache on top. Place chocolates, nutties, snickers, chocolate decorations etc and again refrigerate further. Serve chilled.
Notes
- The crackers need to be square or rectangular in shape.
- I strongly suggest soaking, dipping or brushing the crackers in coffee decoction. I didn’t do it and some portions of the cake were dry to taste due to crackers.
- Using parchment paper on the circumference is very important, else the crackers start falling apart while demolding.

