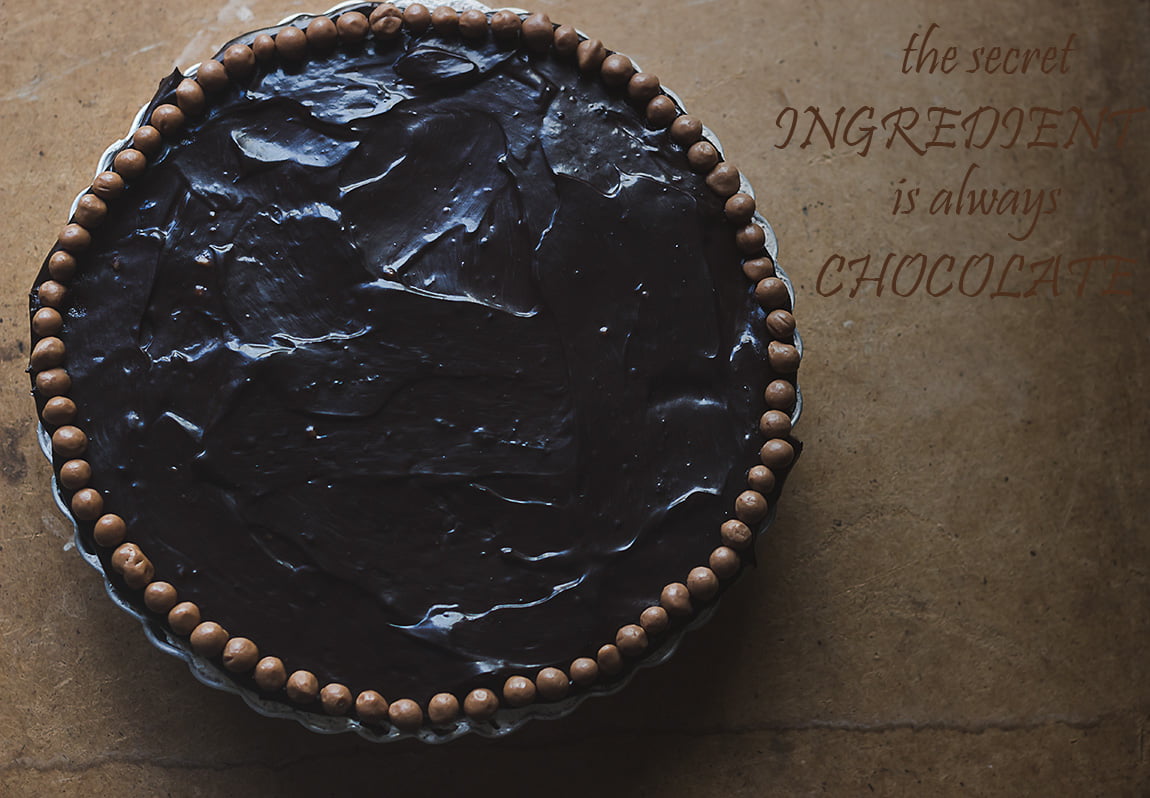
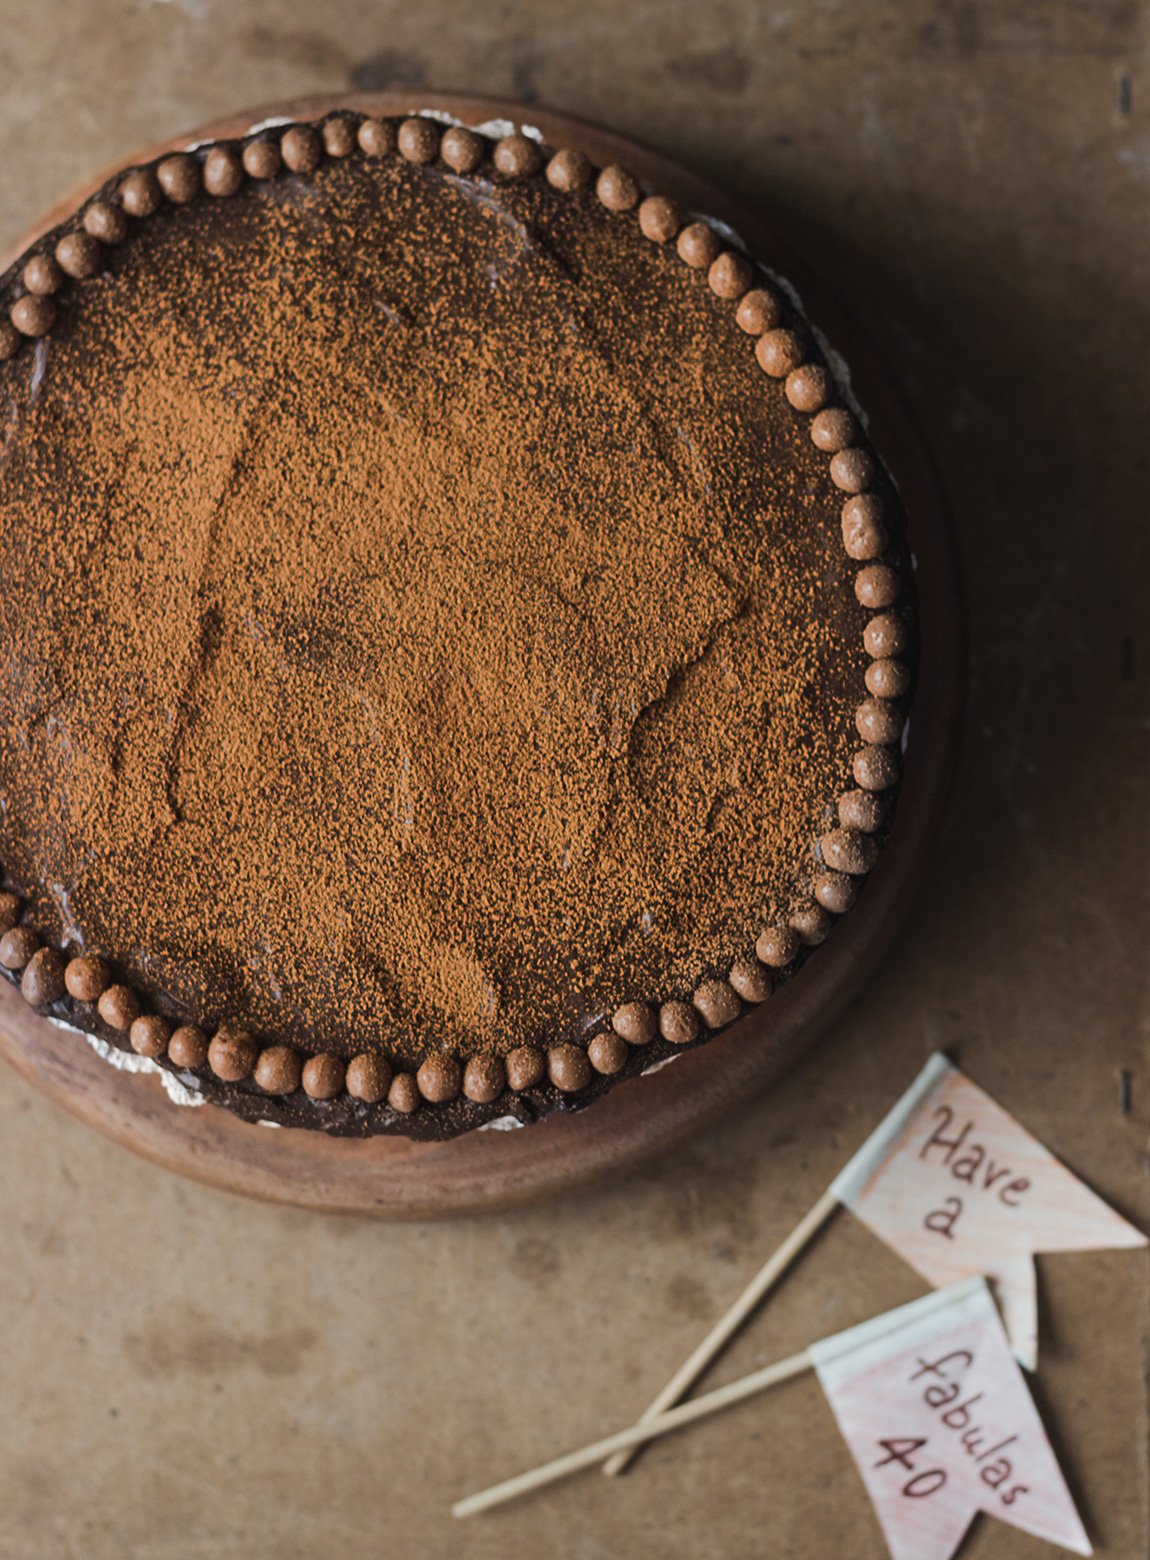
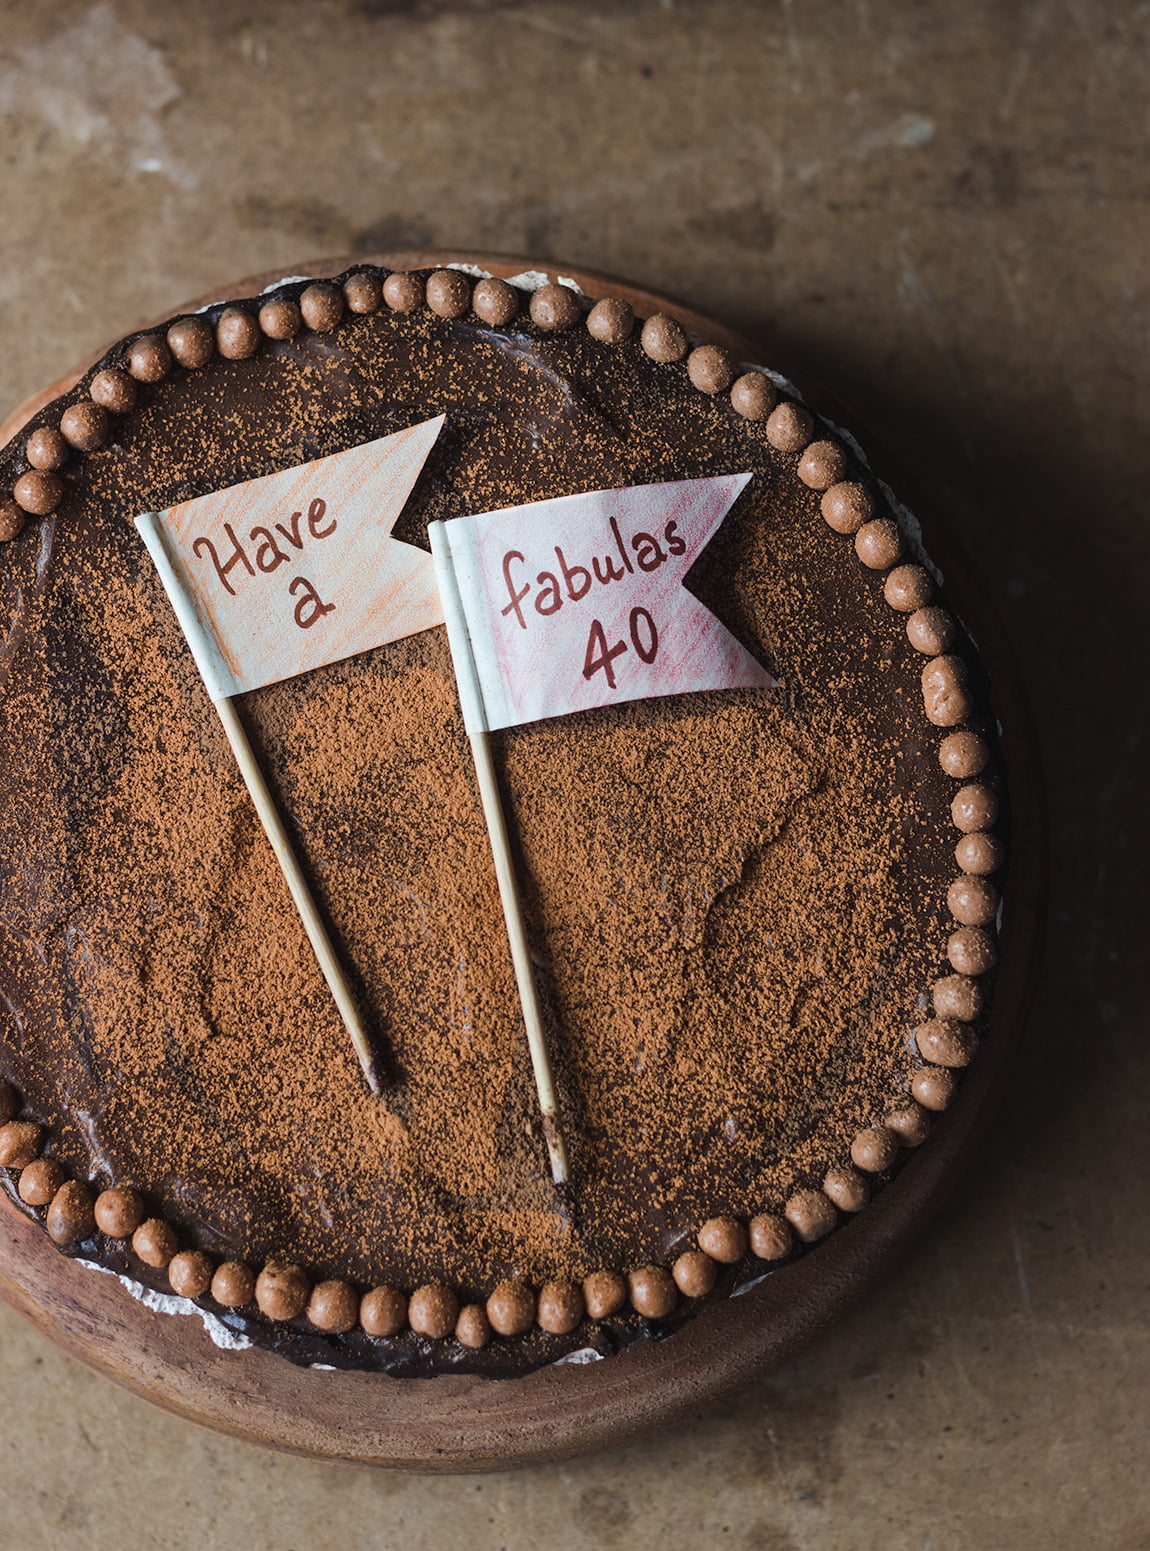
No-Bake Chocolate Mousse Cake is a rich and decadent chocolate-based no-bake dessert. Made with ganache and crushed cookies or biscuits, this dessert can be made ahead. It slices beautifully when it has been refrigerated for a few hours up to overnight.
Check more of no-bake desserts here – dark chocolate mousse, no-bake biscuit cake, pineapple pudding.

I made this cake for the first time in March to celebrate the birthday of my friend. But my dSLR died on me that day for the first time in 4 years and had to give it for servicing. Afterwards, I tried making it several times but the right occasion didn’t come. Finally made it again for my own birthday this year.

While making it a second time, I mistakenly took a little extra whipped cream than needed and my mousse layer turned out much lighter than I would have preferred. The original mousse layer is in my Instagram feed here.
You can use a mix of sweet and dark chocolate if you like. You can use any cookie like Oreo or any other biscuit of your choice.
I love making make-ahead desserts these days as they are far simpler to plan and make in advance. Too many variables in my life make it difficult to do everything at the last minute.

The No-Bake Mousse cake turned out extremely well. Everyone loved it. It was a firm and crunchy base, mixed with chocolate ganache and finally the creamy mousse melts in your mouth. Different textures and flavors are brought together. A must-try for sure.
I turned 40 this year and Mousse Cake was a perfect way to celebrate it.

How to Make Chocolate Mousse Cake Without Baking?
No-Bake Chocolate Mousse Cake
Ingredients
for the base
- 150 gram digestive biscuits
- ½ cup unsalted butter melted
- 1 tbsp instant coffee powder
- 1 tbsp cocoa powder unsweetened
- 100 gram chocolate chopped coarsely
for the mousse layer
- ¾ cup heavy cream
- ⅓ cup confectioner’s sugar
- 100 gram dark chocolate coarsely chopped
for the ganache layer
- 100 gram dark chocolate coarsely chopped
- ½ cup heavy cream
Instructions
for the base
- Prepare a round or circular tart pan of your choice. Melt chopped chocolate using 30 seconds spurts in microwave. After each spurt, gently stir the chocolate to check if it has melted. Be watchful in this step as chocolate burns very quickly. Once the chocolate is melted, set aside.
- Place digestive biscuits in the jar of your mixer or processor. Grind them into coarse powder. Now add melted butter, coffee powder, cocoa powder and melted chocolate. Churn all of them together to make a thick sticky paste. Scoop this mixture into the prepared pan. Spread it evenly. Using the back of a spoon, press it down to make a uniform base. Allow it to set in refrigerator while you prepare the filling.
for the mousse layer
- Repeat the process of melting chocolate from above using microwave for Mousse layer. Set is aside to come down to room temperature. In a chilled bowl, beat the whipping cream to soft peaks on slow speed. Now add icing sugar to it. Continue to beat till stiff peaks are formed, about 5-7 minutes total time. Now gently fold in melted chocolate to the whipped cream. Make sure the chocolate is not hot at all, else it will freeze into small particles and not make a smooth mousse. Also do not whisk or use rigorous mixing, the mousse will not form. Pour the mousse onto the set biscuit layer. Gently press and smoothen out the layer for even distribution. Regrigerate again for setting while you prepare ganache layer.
for the ganache layer
- Roughly chop the chocolate and place in a heat proof bowl, keep aside. Heat cream in a thick pan on low heat, do not allow it to boil. Pour hot cream over chopped chocolate. Allow it to stand for few minutes. Using a spoon or a whisk, stir it gently till the chocolate melts. The heat of the cream will melt the chocolate. Allow the ganache to cool down and thicken slightly.
- Pour the ganache over the set mousse layer. Top with cocoa powder, nuts, chocolate chips etc as per your choice. Allow the tart to set overnight or at least for 2 hours in refrigerator. When ready to serve, remove from refrigerator and slice it. Enjoy.
Notes
- You can use a mix of sweet and dark chocolate if you like.
- You can use any cookie like Oreo or any other biscuit of your choice.
- While making it a second time, I mistakenly took a little extra whipped cream than needed and my mousse layer turned out much lighter than I would have preferred. The original mousse layer is in my Instagram feed here.


