 Print Recipe
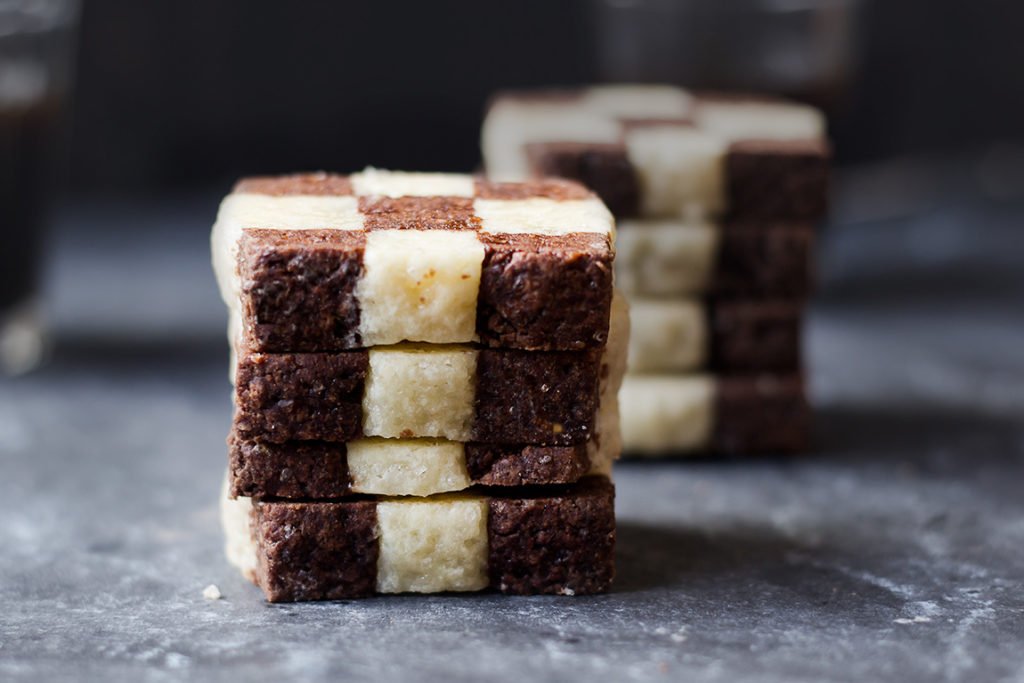
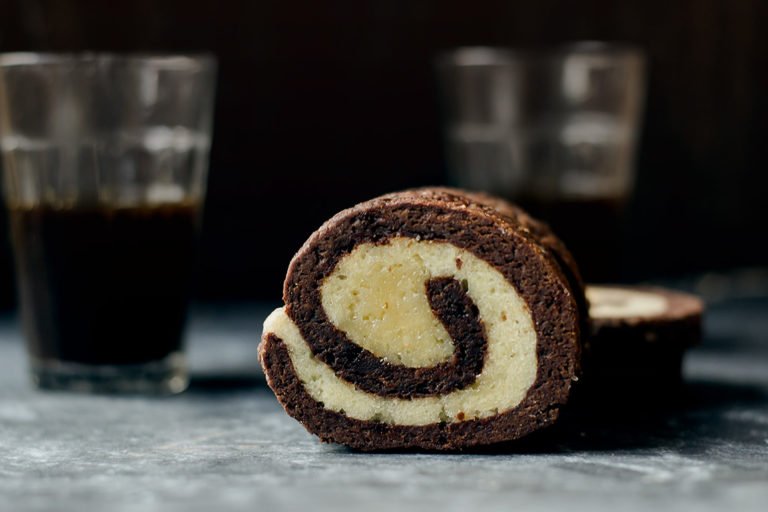
Eggless Checkerboard Cookies are as much a delight to look at as they are to eat. Enjoy these buttery, chocolatey and melt in the mouth cookies during the holiday season. A kid friendly recipe.
After Eggless Candied Ginger Biscottis, I baked Eggless Checkerboard Cookies to send with my mom. I am not new to checkerboard pattern & have earlier done Eggless Checkerboard Cake as well.

It may sound or seem complicated but when u start it is quite simple to put together. You can even do it over 2 days. That’s what I did.

My cookies didn’t have perfect squares or checkers, because I am lazy. And, because I am some more lazy.

And because my refrigerator dial was on lowest, here being winters, and the dough did not harden enough to roll/ shape well. And I realized this point only after completion of all the rolls.

But surely a lesson hard learnt.
The not so perfect shape took nothing away from the taste or the texture.

How to Make Checkerboard Cookies in Easy Steps?
Checkerboard Cookies
Ingredients
- 1¼ cup all purpose flour
- 3 tbsp cocoa powder unsweetened
- 2 tbsp milk
- ¼ tsp salt
- ½ cup unsalted butter softened
- ¾ cup sugar powdered
- 1 tsp vanilla extract
Instructions
- In a large bowl, sieve all purpose flour and set aside. In another bowl, beat on high speed sugar and butter together, till they form a homogeneous paste. Now add vanilla extract & salt to the butter paste and beat for another couple of minutes.
- To this mixture, add sieved flour and fold in. Add a tablespoon of milk and mix well to bring together all the ingredients. Divide this lump into two parts.
- Transfer one portion to floured surface and knead it well, till the dough is smooth. You may add a little milk if needed. Gently roll or press using your hands this dough into a square shape, about 4 inches thick. Wrap it in cling film and refrigerate for 2 hours minimum or preferably overnight.
- Take the other dough and add cocoa powder to it. Adding little milk (if needed) knead the dough such that cocoa powder is completely incorporated in it. Gently roll or press using your hands this dough into a square shape, about 4 inches thick. Wrap it in cling film and refrigerate for 2 hours minimum or preferably overnight.
- Remove both the doughs from refrigerator, and gently roll it inside the cling wrap only to soften it. Using a rolling pin or your hands, stretch the dough to form a long rectangle of about ½ inch thick. Try doing this within the cling wrap only so it becomes easier to take out strips in next step. Repeat this step for the second dough. Using a ruler, straighten the edges and cut off extra dough.
- Using a sharp knife, cut 1 cm wide strips for both dough. You may need to refrigerate the dough in between steps for easy working.
- Spread a fresh parchment paper and place one vanilla strip on it. Brush milk on the edges of the vanilla strip. Gently lift chocolate strip and place next to it. Press it close so that it sticks to the vanilla strip. Milk will help in binding the two strips. Brush the free side of chocolate strip with milk. Place a vanilla strip on the other side of chocolate strip. Press gently together.
- Now brush milk on top of this block. On top of first vanilla strip, place a chocolate strip, repeat brushing with milk. Then place a vanilla strip next to second layer of chocolate strip, brush with milk and finish the layer with chocolate strip. The placement should be such that vanilla and chocolate strips are alternating within the same layer as well as on top of each other for perfect checkerboard effect. Repeat arranging strips for a 3rd layer. If you wish you can arrange 4th layer as well.
- Cover this ready strips dough gently in a cling wrap and refrigerate for 1 hour. Preheat the oven to 180 °C.
- Remove the dough and carefully cut them into square cookies. Place on a cookie sheet, one inch apart and bake for 12-13 minutes. Cool on a rack and store in an airtight container.
Notes
- Refrigerating for few hours is also fine but preferably dough should be refrigerated overnight for best result.
- You may need to refrigerate the dough in between steps for easy working.
- The placement should be such that vanilla and chocolate strips are alternating within the same layer as well as on top of each other for perfect checkerboard effect.
- Minimum 3 layers of strips are needed for uniform checkerboard effect but you can do more like 4 or 6 layers as well.


WOW!!! Mouth watering!!
Detailed recipe, excellent photography!
wow! It is very beautiful..I wanna try this some time…Thank you for sharing an eggless recipe!
http://www.numerounity.com/2014/01/recharge-rejoice.html
Thanks!
Wow re.. this is so awesome
Thanks Neha. I am glad you like it!