Homemade Moong Dal ki Mangodi/ Sun-dried Mangori is an easy way to dry your green gram lentil paste. Once it is sun-dried it can store at room temperature for months. It is then used as an addition to pulao, or in potato curry or even in veggies.
In a Jain household, making and eating Mangori or moong dal wadi is such a common occurrence that I never realized that others may not know about this.
When I made Mangoris this year and posted on Facebook, I was bombarded with questions on how to make it and how to use it.
Typically Jain’s eat only limited vegetables and do not consume non-veg or egg. So to provide variety to their meal, using lentils/ legumes/ dal in a novel way spices up their cuisine.

So here I am with a very simple recipe, which requires a bit of offline time and loads of Sun. Nothing you can’t manage with little planning.
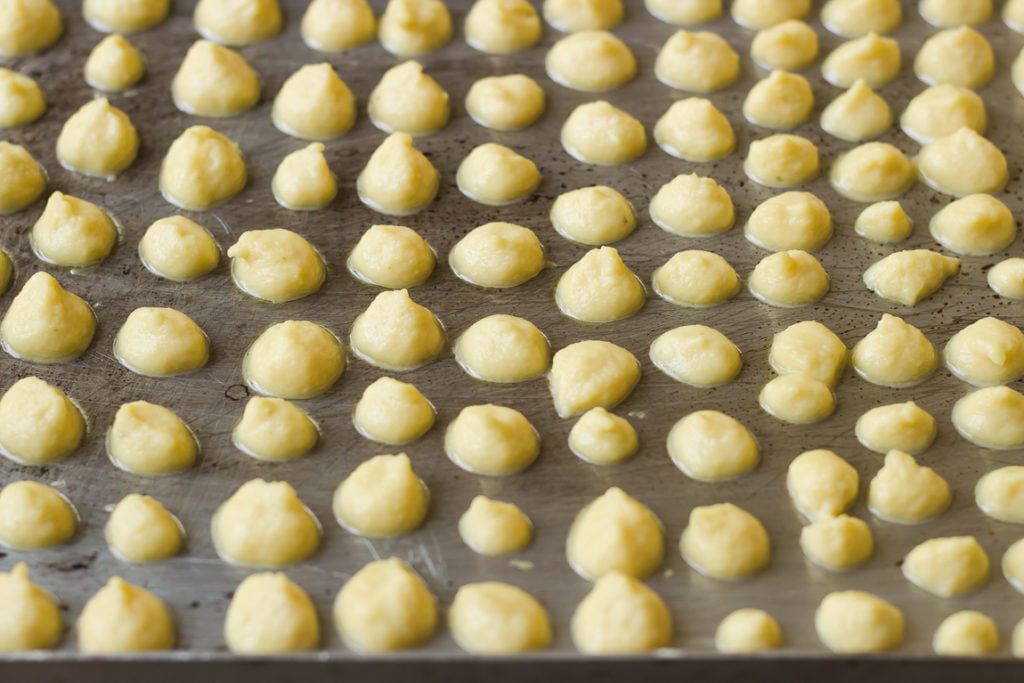
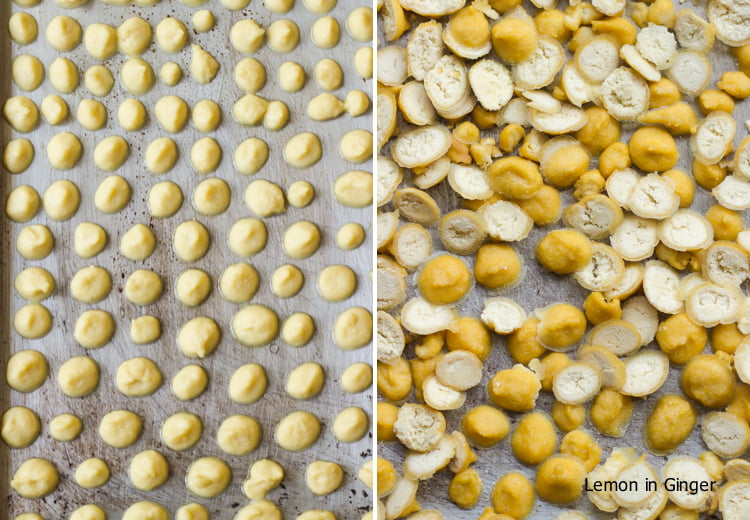
All you need to do is soak dal/ lentil overnight, grind it, pipe into small dots and leave to sun-dry for 2-3 days.
And you have mangori ready to be used with whatever dish you want to add it to – with gravy, with roasted vegetables, take your pick.
How to Make Moong Dal ki Mangodi or Badi at Home?
Homemade Sun-dried Mangori
Materials
- 1 cup split green gram dehusked, moong dal
- water
Instructions
- Soak the moong dal overnight.
- Wash and grind it using very little water.
- Transfer to a big bowl and beat for 5 mins adding no more than ½ cup of water. You can beat using hand beater or a stand mixer.
- Add enough water only, so that it holds the shape when you pipe.
- Transfer the prepared batter to a piping bag and use a startip or any other tip of your choice.
- Grease a baking tray lightly with oil/ butter and pipe small drops/ designs on the greased tray.
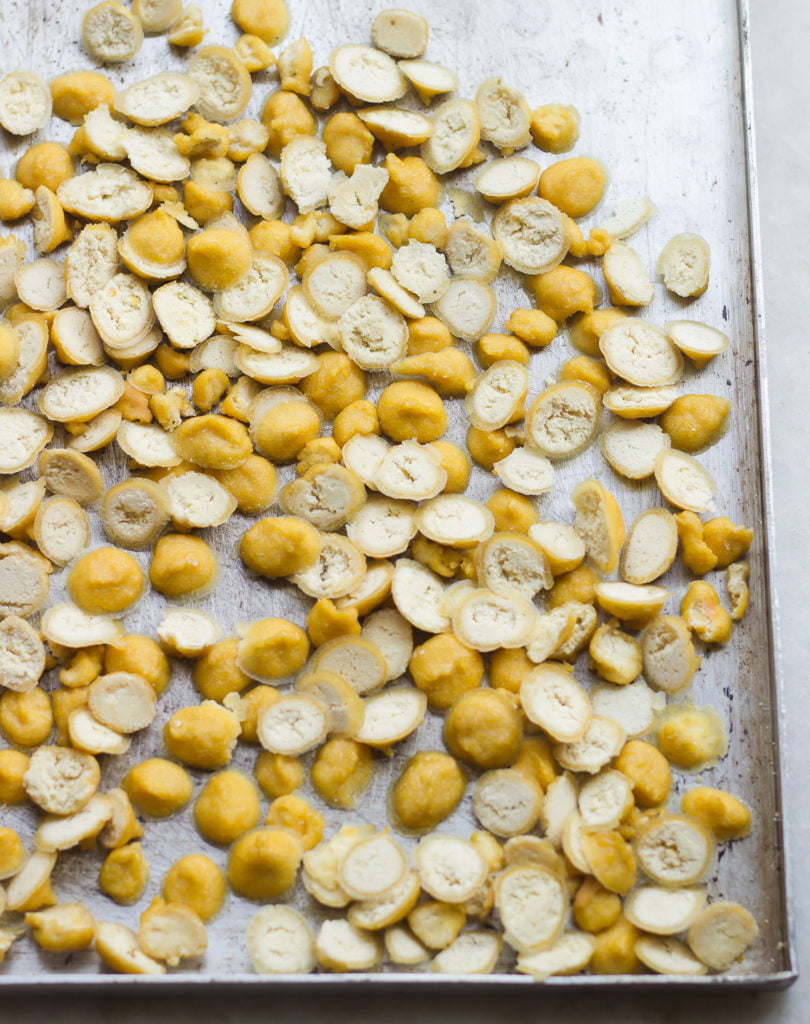
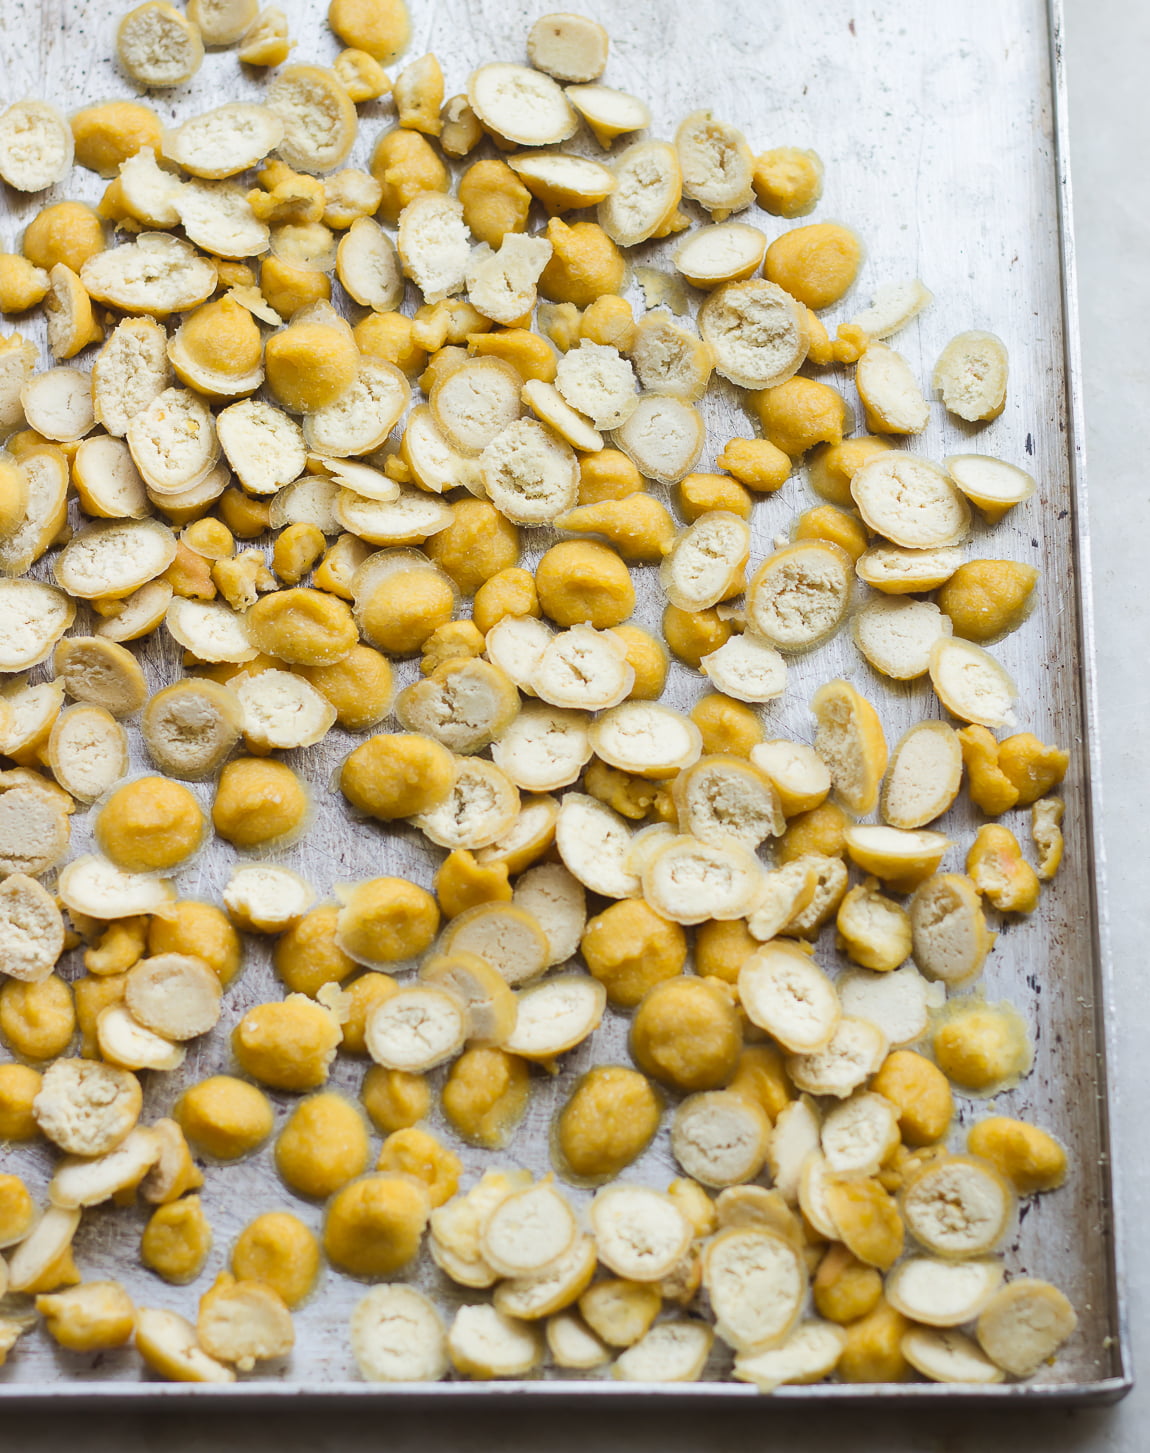
- Allow them to sun-dry under hot sun for 2-3 days. If water remains, then it will get spoilt.
- Once it dries, it easily slides off the tray. You can turn them around for 1 day to allow thorough sun-drying.
- Store in an air-tight container.
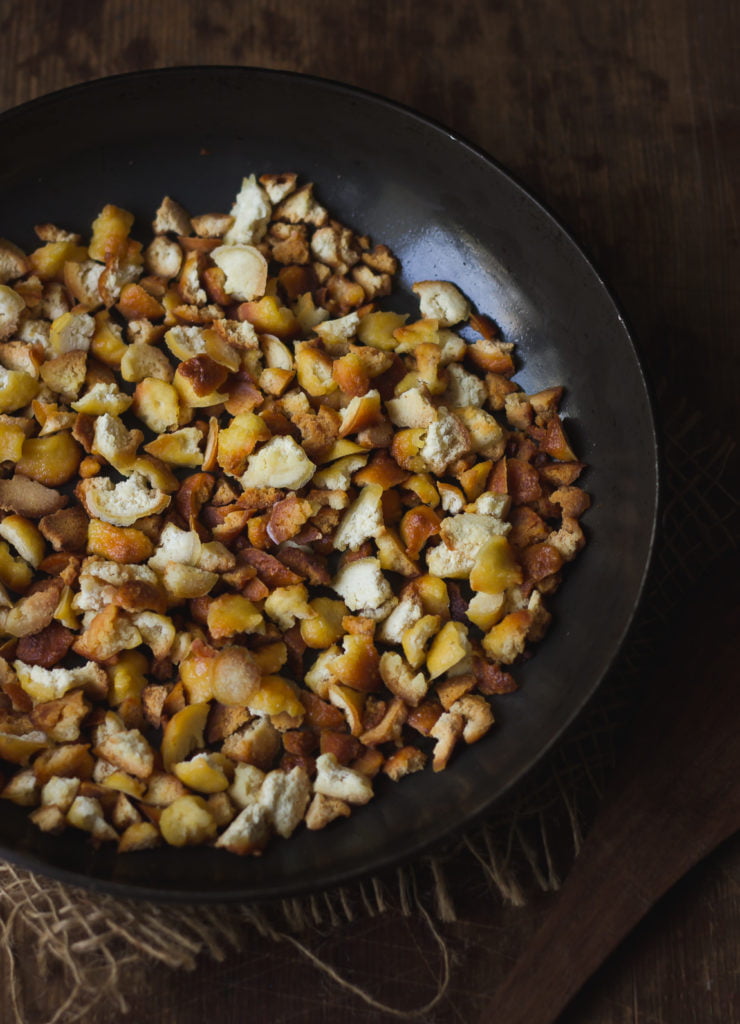
- Whenever you want to use them, just remove a handful, slightly break them up using gentle pressure of your thumb.
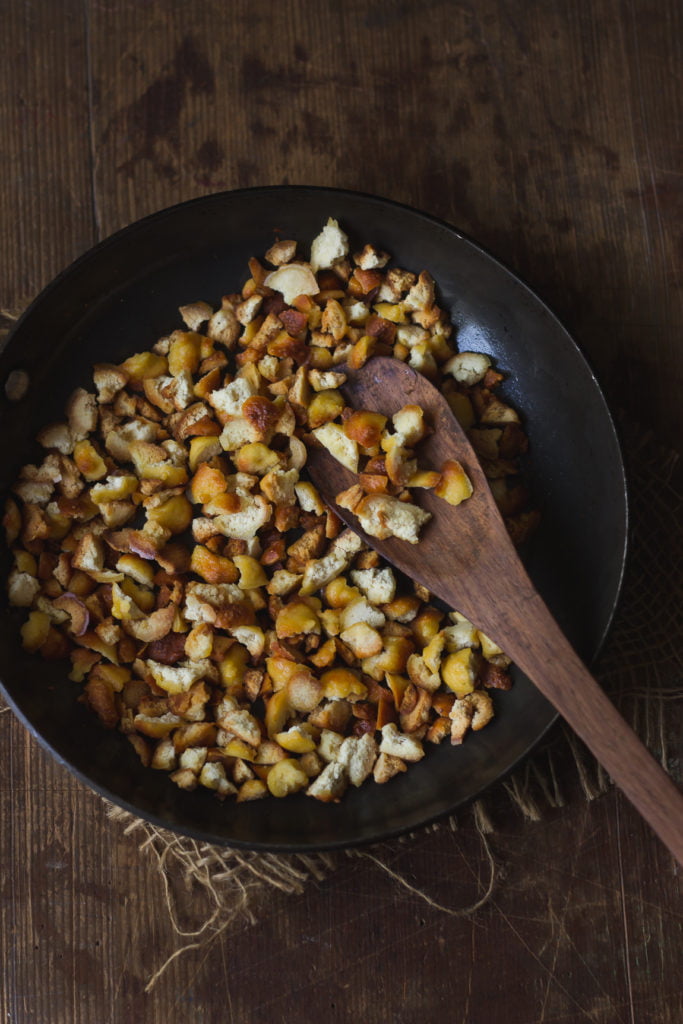
- Add 1 tsp butter or clarified butter in a pan, add mangori and roast them to golden brown. Remove and keep aside.
- Now use these roasted mangori as addition to dry veggies, or with gravy. I typically use them with Gourd gravy or peas gravy.
Notes
- Use only as much water as required.
- I used the traditional method of dropping the batter randomly on the greased tray using my fingers, but piping bags with stp of your choice works very well too.
- If sundried well, they have long shelf life and can be stored outside if going to use quickly, but if it will be used later, then can be stored in refrigerator.
- I make plenty of it during March-May and use it for remaining year as Sun is never that strong once rains start in Pune.
- You can refer to Taazi Magori Recipe as well for detailed process of beating the batter.


Wonderful looking and so simple to make..
Yep Neha. Indeed it is. Thanks for dropping by.
This is incredible!
Will surely try with lentils in Summer when sun is very hot here as well.
Thanks for participating to MLLA, round-up is now on-line: http://cindystarblog.blogspot.it/2014/04/my-legume-love-affair-69-round-up.html