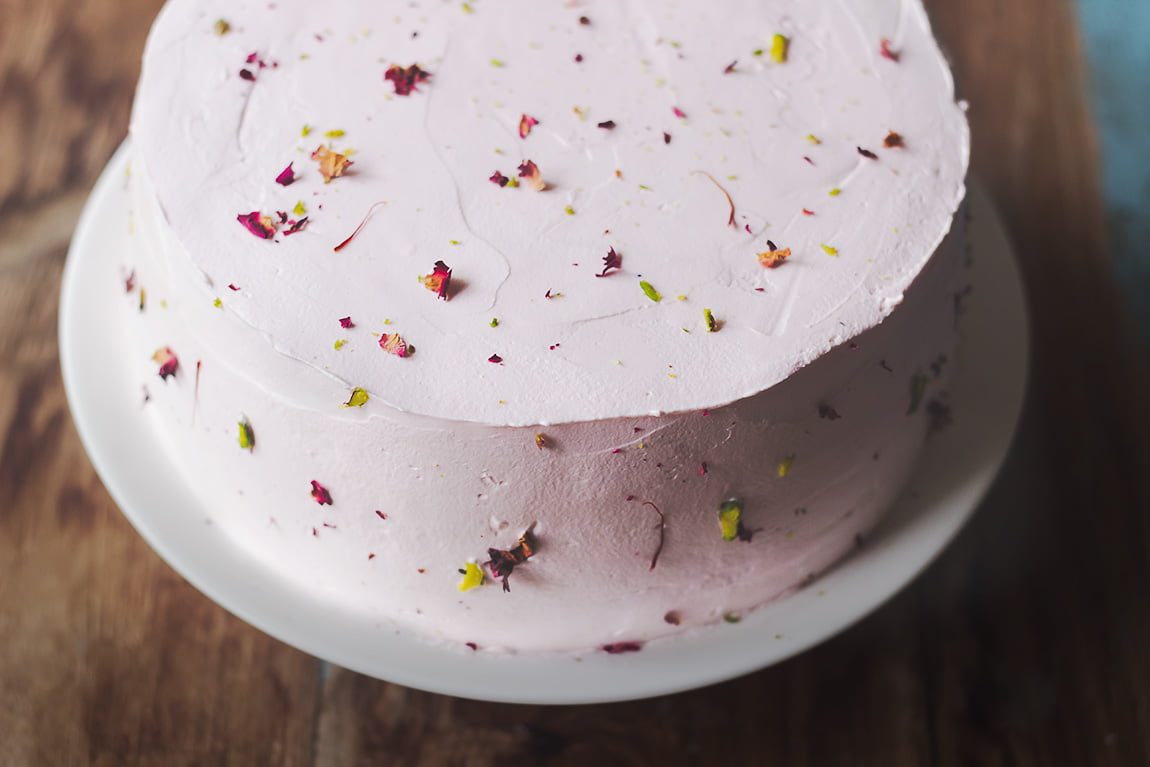
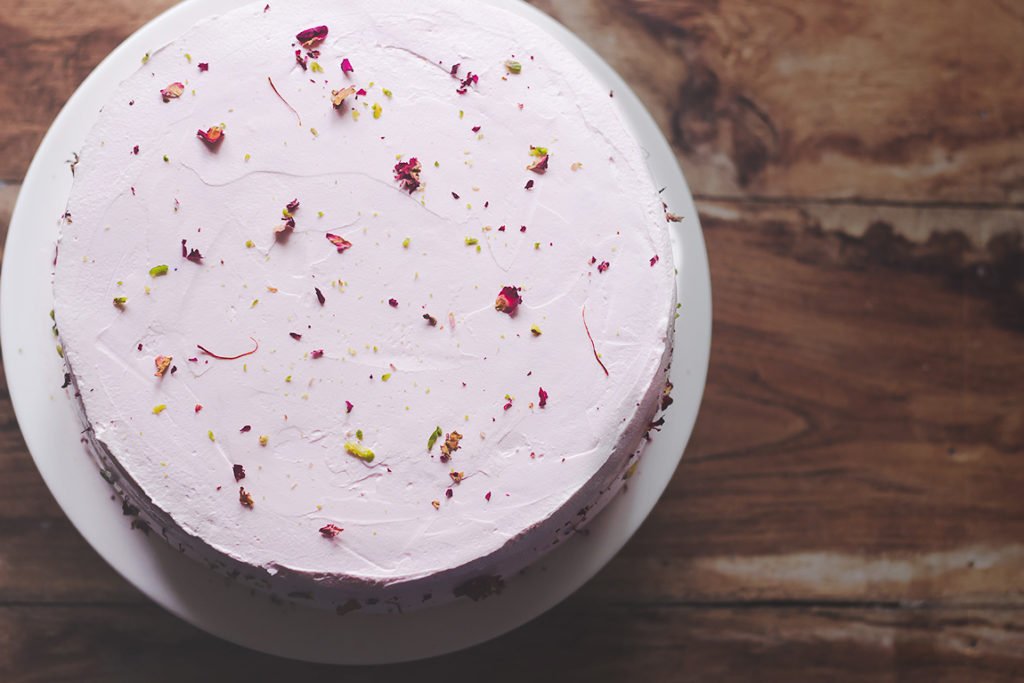
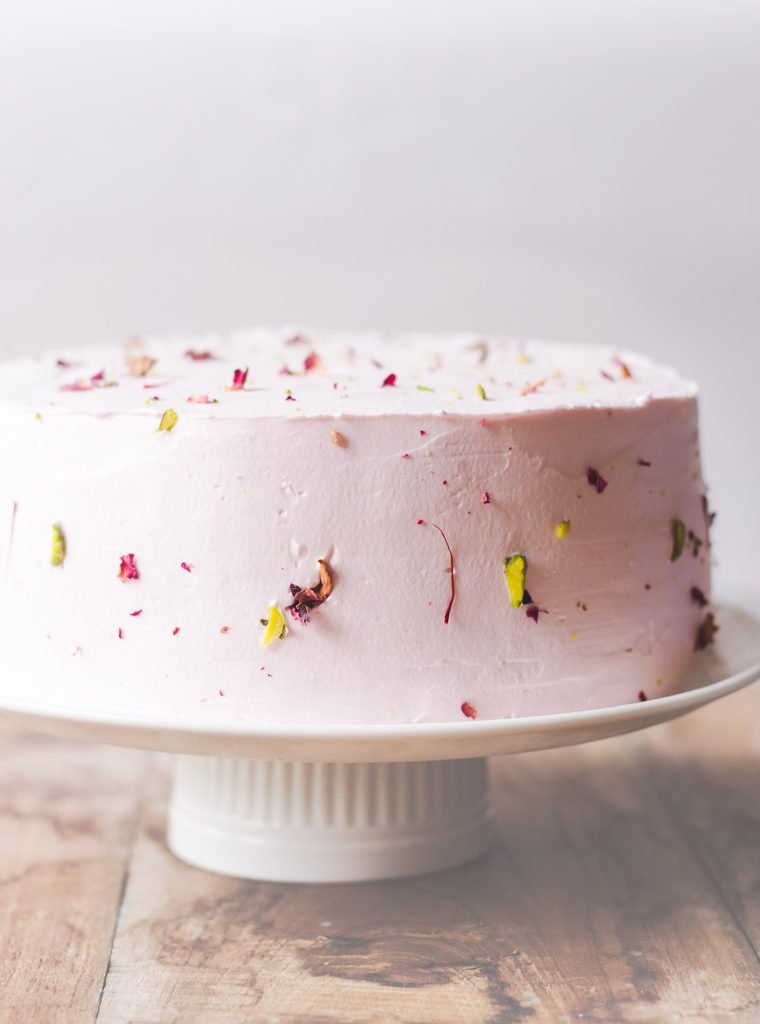
Dried Rose Cake is a vanilla-based layered cake that has been simply decorated with rose-flavored rose cream. Topped with dried rose leaves and some crushed pistachios.
I have become a lazy bum. That’s the only excuse I have for neglecting the blog. My end-of-the-year resolution should be to find the mojo.
And I need to start using a tripod again. Last year I started relying more on quick photos rather than set-up. I need to go back to it too.
The beginning of the month saw heavy rains in Pune, leading to all dams overflowing and a flood-like situation for 2-3 days. And in those 2-3 days,
we found a reason to celebrate my father-in-law’s birthday.
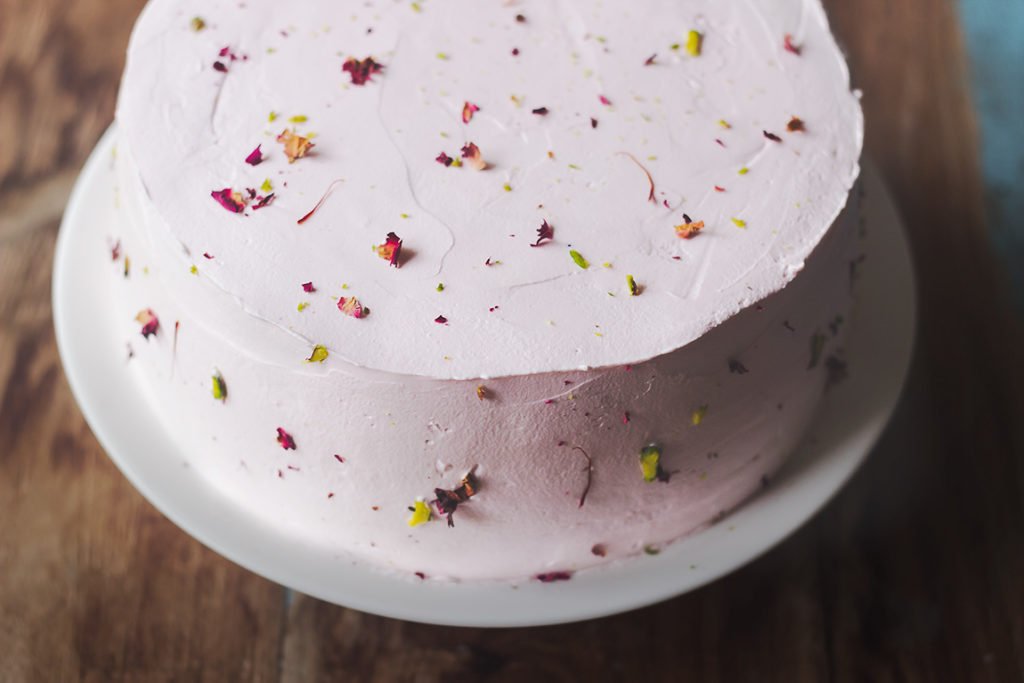
Kids got an unplanned holiday from city administration due to a red alert and we celebrated the holiday, rains, and life with a Dried Rose Cake.
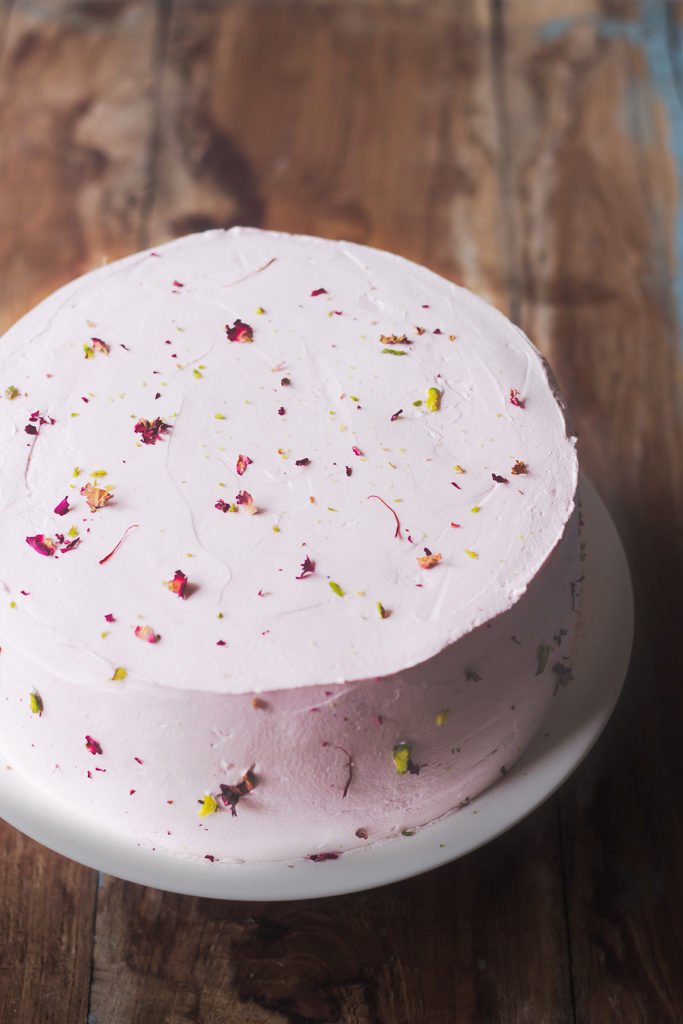
This was not a planned cake. My initial plan was to make Rasmalai Cake as I have come across it so much in the baker world but never got an opportunity to try it. But due to the rains, we were cut off from surrounding areas and I didn’t get any ready ras malai for the cake.
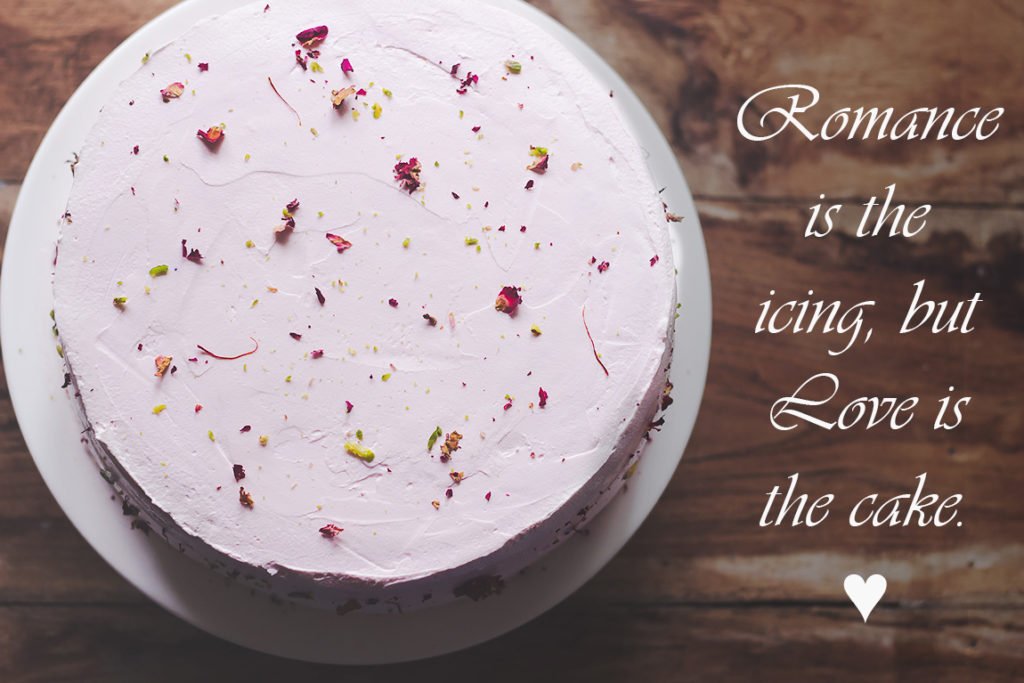
I pulled out what I had at hand and voila we had a simple cake using dried rose leaves. I used rose syrup for soaking and added a hint of pink color to the cream.
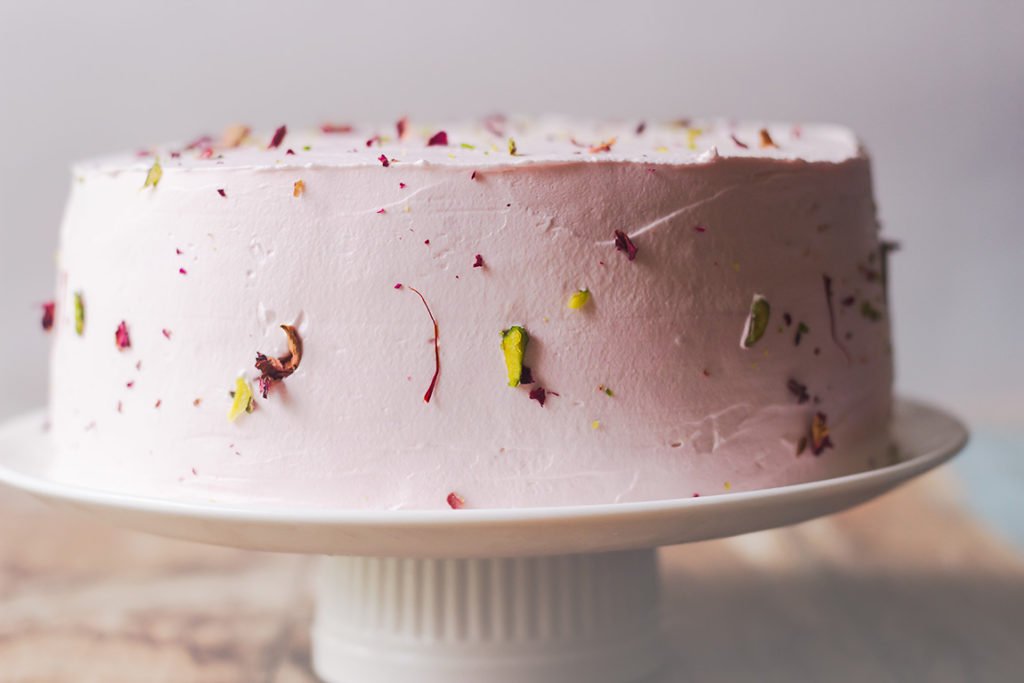
The cake hit all the right notes – moist, simple, oldies-friendly, and creamy. The flavor of the rose is so subtle and fragrant. Perfect for a party.
Easy Peasy Recipe to Make Rose Cake
Dried Rose Cake
Ingredients
- 1 cup all purpose flour
- ½ tsp baking powder
- ¼ tsp baking soda
- a pinch salt
- ½ cup sugar granulated
- ¼ cup olive oil or melted butter
- ⅓ cup water
- 1 tsp vanilla extract
- 2 tbsp yogurt homemade curd or buttermilk
- 2 tsp white vinegar
Instructions
- Preheat oven to 180 °C. Grease and flour 8 or 9-inch round pan.
- Sieve together flour, baking powder and salt, set aside. In a bowl, add sugar, oil and water; mix them well.
- In a large bowl, mix together curd, vinegar and baking soda. Allow it to bubble up. Now add sugar mix to this bubbly mixture. Then slowly add sifted flour and fold in gently. Bake for 25-30 minutes or or till the tooth pick inserted near the centre comes out clean. Cool the cake completely in the pan before de-moulding. Freeze the layer till further use. Bake 2 more layers.
- Assemble and decorate as per your choice.
Notes
- Infuse the sugar syrup with 1 cup dried rose leaves.
- I have been using another white cake recipe for 2 years and like it very much but sometimes for tiered cake, it is not as sturdy as I would like it to be. So trying out a new recipe. I will confirm my final verdict on it after soaking it liberally next time. I like my cakes to be super moist with melt in the mouth texture. So I will make one more attempt with the max soaking a cake can take and will then decide if it’s a keeper or no. Nevertheless the recipe is good and gave a great cake.
Sugar Syrup
Ingredients
- ⅓ cup sugar granulated
- 1 cup water
Instructions
- Boil water & sugar together. Once it boils, lower the flame & allow it to heat for another 1 minute. Remove from heat & cool completely. It can be made in advance & stored in refrigerator.
- Use ⅓ cup of syrup to soak one layer of cake. If you are soaking White Cake then reduce the syrup per layer i.e. ¼ cup sugar in ¾ cup water. And soak each layer in ¼ cup syrup. With ⅓ cup syrup, I have found the cake to get over soaked.
for infusing flavor
- If you are infusing flavor like rose petals, then boil petals once sugar is dissolved for 5-10 minutes. Cool & strain. Continue to use for soaking and assembling.
Notes
- The more you soak the layers before filling, the more moist your cake will be.
- You can infuse this syrup with flavors of your choice. I have used it with dried rose cake by infusing it with 1 cup dried rose petals.
How to Assemble a Cake
Equipment
- piping bag, nozzles & levelling knife for decorating and finishing
- parchment paper or strips
Materials
- sugar syrup or chocolate syrup for soaking
- whipped cream or chocolate ganache or buttercream to fill & frost
- fruits, sprinkles, chocolate chips, etc for topping or filling
Instructions
- Move the frozen layers to refrigerator few hours before assembling. Place the first layer on a platter or cake stand.
- Make some holes into the bottom layer using a form. Soak the bottom layer in sugar syrup. Then lightly spread the filling of your choice like whipped cream or butter cream or chocolate ganache over it. Place the second layer on top of the bottom layer & repeat the process of soaking & spreading filling. Finally place the top layer & again soak it. Lightly spread the filling on top & sides of the cake making a crumb coat. Refrigerate the cake for 1 hour.
- Top it generously with chocolate ganache or any glaze or whipped cream or butter cream. Pipe design as you would like. Refrigerate the cake for at least 2 hours or overnight for flavors to set in. Serve chilled.
Notes
- You can whip the ganache before spreading as filling.
- The consistency of ganache for topping and filling is different. For filling, you need thick consistency (which you get by leaving the ganache at room temperature for few hours) and for pouring as topping, you need the ganache to be pouring consistency. You can re-heat/ warm up the ganache to adjust the consistency.
- I use soy-based ready-to-whip cream which is available in market. Transfer a small portion of cream in a large bowl or your stand mixer and beat till stiff peaks are achieved. Fill and frost as per your choice.

