 Print Recipe
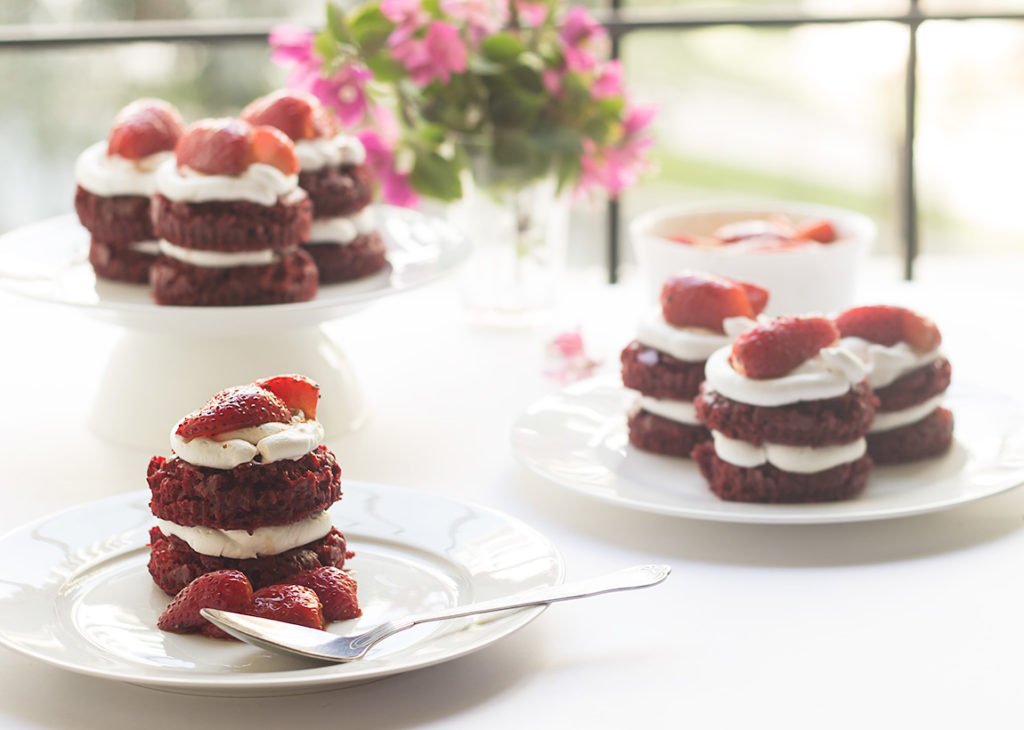
Red Velvet Mini Cakes make a great Valentine day special treat. These are made without addition of artificial red color. They are small bite-sized cakes perfect for a potluck or a family get-together. read on more to know how they got this deep red color naturally.
Mini cakes have been on my wish list for many-many years and finally I dealt with them few days back to mark the occasion of Valentine’s Day.

In the last 12 years of marriage, we have celebrated birthdays, anniversaries but never valentine. There was no specific reason but it just never happened. But this year we specially did celebrate, went out for lunch and dinner dates with each other obviously! :D I also went out for coffee with friends.

I have earlier made red velvet cupcakes and cake using beetroot. But this time I succumbed to recipe using buttermilk, cocoa powder and red food coloring.
The recipe which I used is my go-to recipe for white cake. I adapted it by adding cocoa powder and color to it. And it came out perfect. I also used the sheet pan of my oven and used cookie cutter to cut mini rounds. Assembling them is a cake walk literally! They don’t break, no extra skills required and just top them with fresh or marinated strawberries. I used some balsamic vinegar to marinate and served with balsamic strawberries.

It was a super duper hit cake. V took 2 portions of it to his office, Vedanta named them choco-pies and ate very happily. Mini cakes are definitely making an appearance in my kitchen again!
How to Make Red Velvet Mini Cakes at Home?

Red Velvet Mini Cakes
Ingredients
- 1 cup all purpose flour
- 1½ tbsp cocoa powder
- ½ cup sugar granulated
- ¾ tsp baking powder
- ¼ tsp baking soda
- ¼ cup unsweetened apple sauce
- ½ cup yogurt homemade curd or buttermilk
- 2 tbsp olive oil
- ½ tbsp apple cider vinegar
- 1 tsp vanilla extract
- 1 tbsp red food color
- a pinch salt
Instructions
- Pre-heat oven to 170 °C. Grease and line a 12 inch round sheet pan.
- In a large bowl, combine together flour, cocoa powder, sugar, baking powder, salt and baking soda. In a separate small bowl, mix curd or buttermilk, oil, red food color, vinegar, vanilla extract and apple sauce.
- Stir the wet ingredients into the dry ingredients bowl until just mixed. I added another teaspoon of curd to adjust the consistency. Pour the batter into prepared pan. Bake for 15-18 minutes or till the tooth pick inserted near the centre comes out clean. Cool the cake completely in the pan.
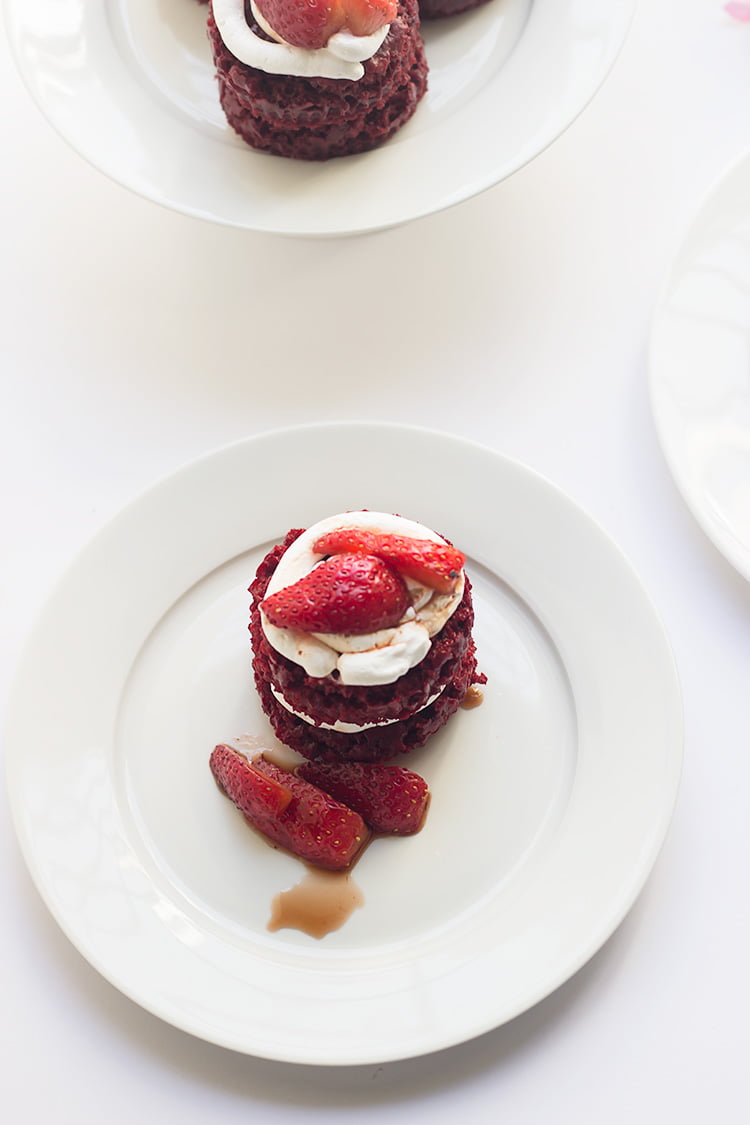
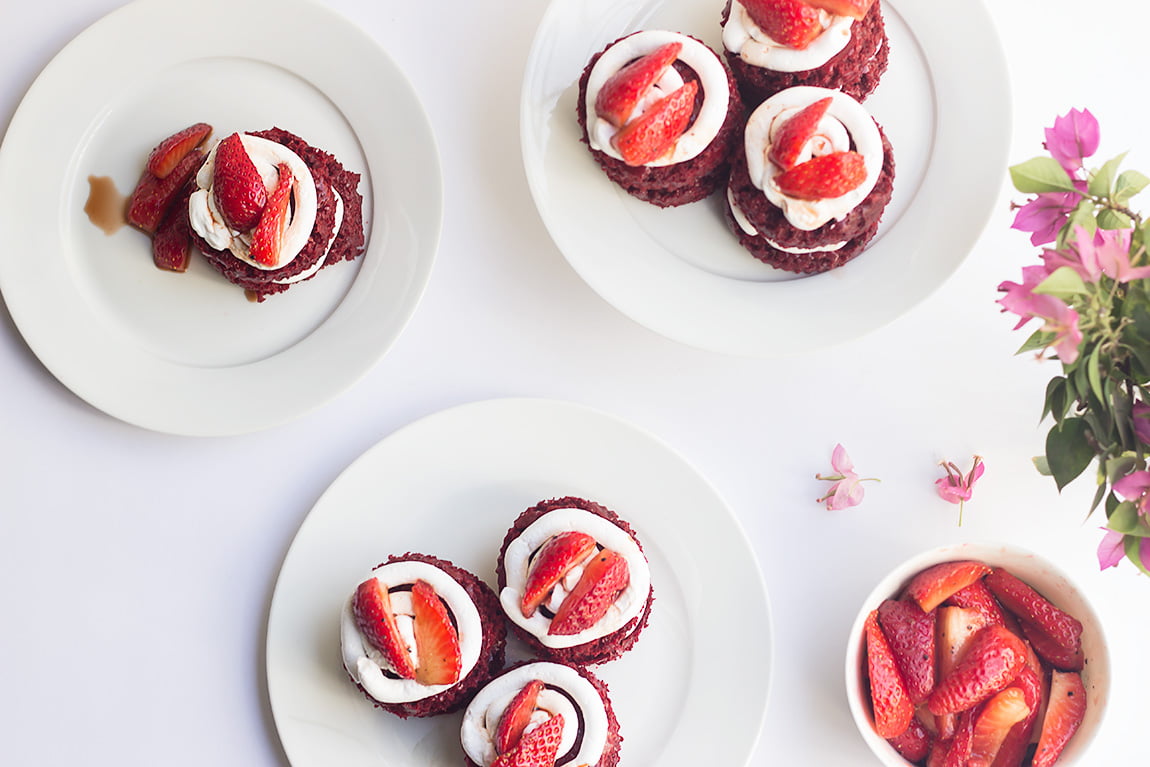
- For mini cakes, using a cookie cutter, cut rounds. Spread some whipped cream, fresh strawberries and assemble. I topped the cakes with some balsamic vinegar marinated strawberries. Or Assemble and decorate as per your choice.
Notes
- This recipe makes 1 layer. Repeat this process to get as many layers you want.
- The beauty of these mini cakes is not just visual but they also taste great and perfect for individual serving.
Sugar Syrup
Ingredients
- ⅓ cup sugar granulated
- 1 cup water
Instructions
- Boil water & sugar together. Once it boils, lower the flame & allow it to heat for another 1 minute. Remove from heat & cool completely. It can be made in advance & stored in refrigerator.
- Use ⅓ cup of syrup to soak one layer of cake. If you are soaking White Cake then reduce the syrup per layer i.e. ¼ cup sugar in ¾ cup water. And soak each layer in ¼ cup syrup. With ⅓ cup syrup, I have found the cake to get over soaked.
for infusing flavor
- If you are infusing flavor like rose petals, then boil petals once sugar is dissolved for 5-10 minutes. Cool & strain. Continue to use for soaking and assembling.
Notes
- The more you soak the layers before filling, the more moist your cake will be.
- You can infuse this syrup with flavors of your choice. I have used it with dried rose cake by infusing it with 1 cup dried rose petals.
How to Assemble a Cake
Equipment
- piping bag, nozzles & levelling knife for decorating and finishing
- parchment paper or strips
Materials
- sugar syrup or chocolate syrup for soaking
- whipped cream or chocolate ganache or buttercream to fill & frost
- fruits, sprinkles, chocolate chips, etc for topping or filling
Instructions
- Move the frozen layers to refrigerator few hours before assembling. Place the first layer on a platter or cake stand.
- Make some holes into the bottom layer using a form. Soak the bottom layer in sugar syrup. Then lightly spread the filling of your choice like whipped cream or butter cream or chocolate ganache over it. Place the second layer on top of the bottom layer & repeat the process of soaking & spreading filling. Finally place the top layer & again soak it. Lightly spread the filling on top & sides of the cake making a crumb coat. Refrigerate the cake for 1 hour.
- Top it generously with chocolate ganache or any glaze or whipped cream or butter cream. Pipe design as you would like. Refrigerate the cake for at least 2 hours or overnight for flavors to set in. Serve chilled.
Notes
- You can whip the ganache before spreading as filling.
- The consistency of ganache for topping and filling is different. For filling, you need thick consistency (which you get by leaving the ganache at room temperature for few hours) and for pouring as topping, you need the ganache to be pouring consistency. You can re-heat/ warm up the ganache to adjust the consistency.
- I use soy-based ready-to-whip cream which is available in market. Transfer a small portion of cream in a large bowl or your stand mixer and beat till stiff peaks are achieved. Fill and frost as per your choice.


Join the Conversation
We'd love to hear your thoughts