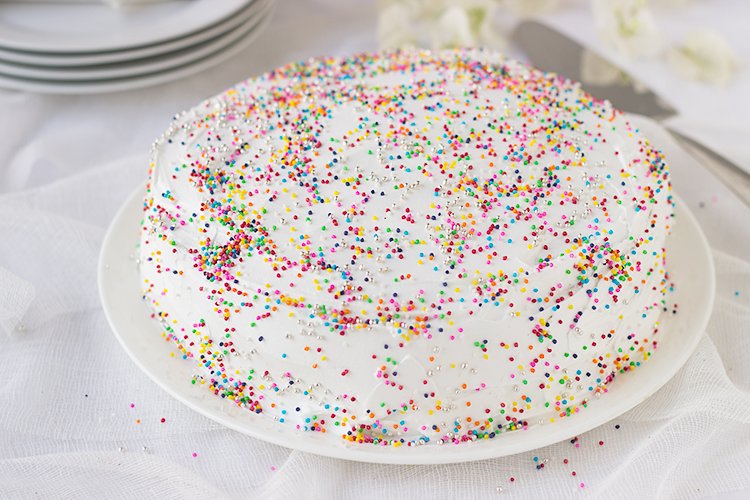
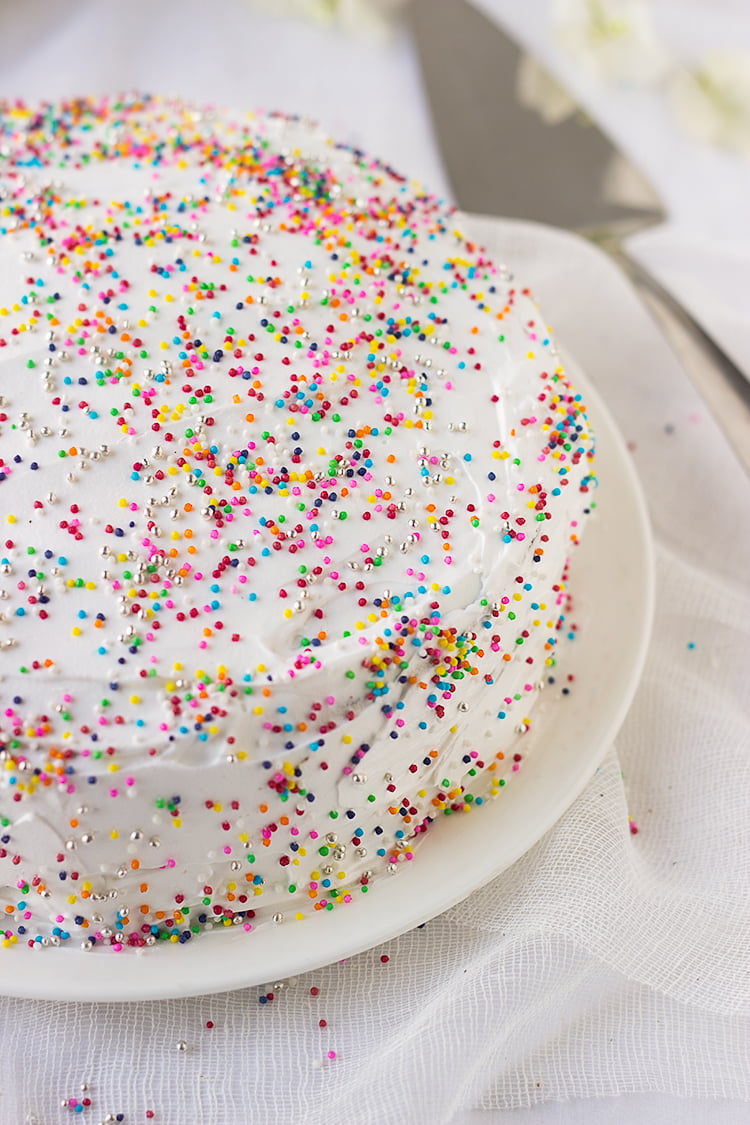
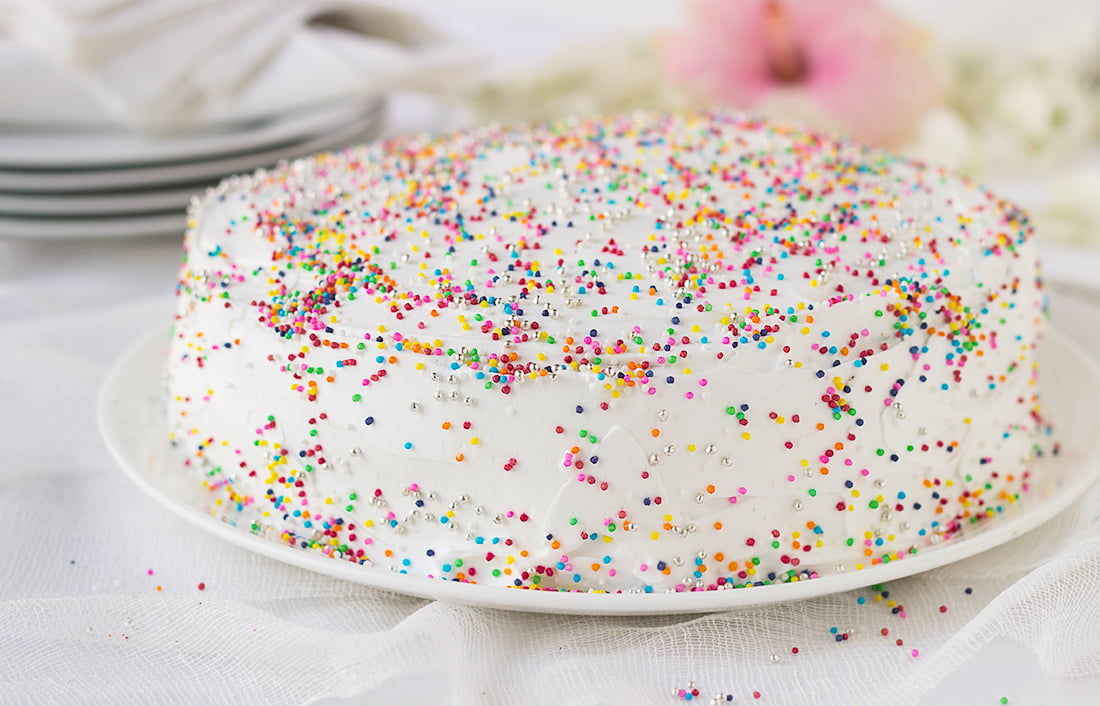
Chocolate Sprinkle Cake is a chocolate layered cake with simple filling and frosting of Whipped Cream. It is then topped with sprinkles on top. A simple yet beautiful and tasty as heck cake!

Yesterday was Priya’s birthday and I had to make a cake. A cake which started from a black forest cake and ended up being a whipped cream and sprinkle cake. Go with the flow and what’s available!

For any frosted cake, I usually go-to my eggless chocolate cake recipe and bake the layers at least 2 days in advance, giving time for layers to freeze well. You can even prepare sugar syrup in advance. With use ready-to-whip soy based cream, it took me less than 1 hour to soak, fill and frost the cake.

Since I am not proficient in decorating, so kindly ignore rough edges and curves on the cake. Focus on the taste and it will blow your mind off. I have a group of finicky cooks and ladies tasting and they couldn’t stop telling me how good it is. It was perfectly moist, soft and fresh.

All you need is 3 layers of chocolate cake, sugar syrup and ready-to-whip cream. Assemble and decorate as per your choice. I keep it simple.


Chocolate Sprinkle Cake
Ingredients
- 1 cup all purpose flour
- ½ cup+1 tbsp sugar granulated
- ⅛ cup+1 tsp cocoa powder unsweetened
- ¼ tsp baking soda heaped
- ¼ tsp salt
- ⅔ cup hot water
- 4 tbsp olive oil
- 2 tsp white vinegar
- 1 tsp instant coffee granules
- 1 tsp vanilla extract
- 2 tbsp whiskey optional
- sugar syrup for soaking
Instructions
- Pre-heat oven to 170 °C. Line the bottom of one 8 inch pan.
- Whisk together flour, sugar, cocoa, baking soda & salt in a large mixing bowl. Do not use a mixer as it will not aerate the dry flours.
- Combine water, oil, vinegar, instant coffee & vanilla in a separate bowl.
- Mix the wet ingredients into the dry ingredients and whisk them till they are just combined. Do not overmix. A smooth batter is not necessary, few lumps in it are fine. If you are adding any liquor, then add it now.
- Pour batter into the prepared pan. Gently tap the pan so air bubbles are removed and batter spreads evenly.
- Bake for 20-25 mins in the preheated oven. After about 18-20 minutes, insert a tooth pick towards the side of the pan. If it comes out clean, then cake is done.
- Cool the cake in the pan on the rack for 15 minutes, then invert it on the rack. Leave it upside down to cool, it helps in flattening any dome shape. I baked three layers by baking this recipe three times separately. And then froze the layers wrapped in cling film. Continue with assembling and frosting the cake.
Notes
- Old fashioned chocolate cake is perfect as a moist base for frosting and layering cakes.
- Using coffee is optional.
Sugar Syrup
Ingredients
- ⅓ cup sugar granulated
- 1 cup water
Instructions
- Boil water & sugar together. Once it boils, lower the flame & allow it to heat for another 1 minute. Remove from heat & cool completely. It can be made in advance & stored in refrigerator.
- Use ⅓ cup of syrup to soak one layer of cake. If you are soaking White Cake then reduce the syrup per layer i.e. ¼ cup sugar in ¾ cup water. And soak each layer in ¼ cup syrup. With ⅓ cup syrup, I have found the cake to get over soaked.
for infusing flavor
- If you are infusing flavor like rose petals, then boil petals once sugar is dissolved for 5-10 minutes. Cool & strain. Continue to use for soaking and assembling.
Notes
- The more you soak the layers before filling, the more moist your cake will be.
- You can infuse this syrup with flavors of your choice. I have used it with dried rose cake by infusing it with 1 cup dried rose petals.
How to Assemble a Cake
Equipment
- piping bag, nozzles & levelling knife for decorating and finishing
- parchment paper or strips
Materials
- sugar syrup or chocolate syrup for soaking
- whipped cream or chocolate ganache or buttercream to fill & frost
- fruits, sprinkles, chocolate chips, etc for topping or filling
Instructions
- Move the frozen layers to refrigerator few hours before assembling. Place the first layer on a platter or cake stand.
- Make some holes into the bottom layer using a form. Soak the bottom layer in sugar syrup. Then lightly spread the filling of your choice like whipped cream or butter cream or chocolate ganache over it. Place the second layer on top of the bottom layer & repeat the process of soaking & spreading filling. Finally place the top layer & again soak it. Lightly spread the filling on top & sides of the cake making a crumb coat. Refrigerate the cake for 1 hour.
- Top it generously with chocolate ganache or any glaze or whipped cream or butter cream. Pipe design as you would like. Refrigerate the cake for at least 2 hours or overnight for flavors to set in. Serve chilled.
Notes
- You can whip the ganache before spreading as filling.
- The consistency of ganache for topping and filling is different. For filling, you need thick consistency (which you get by leaving the ganache at room temperature for few hours) and for pouring as topping, you need the ganache to be pouring consistency. You can re-heat/ warm up the ganache to adjust the consistency.
- I use soy-based ready-to-whip cream which is available in market. Transfer a small portion of cream in a large bowl or your stand mixer and beat till stiff peaks are achieved. Fill and frost as per your choice.


Wow Yummy :) Nice
Thanks Rupam