 Print Recipe
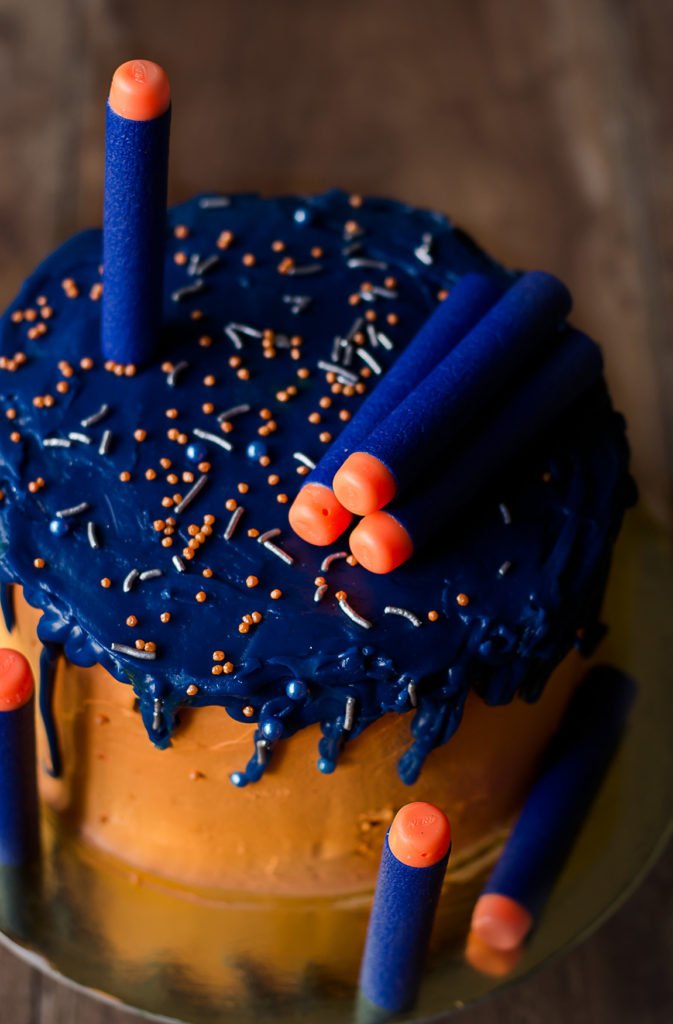
Nerf Gun Cake is a chocolate-based theme cake perfect for your kid’s birthday party. It’s a simple cake filled with chocolate ganache. White chocolate drip in Nerf blue color is done for the theme. Orange color is given to the whipped cream.
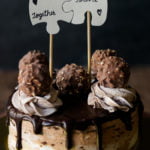
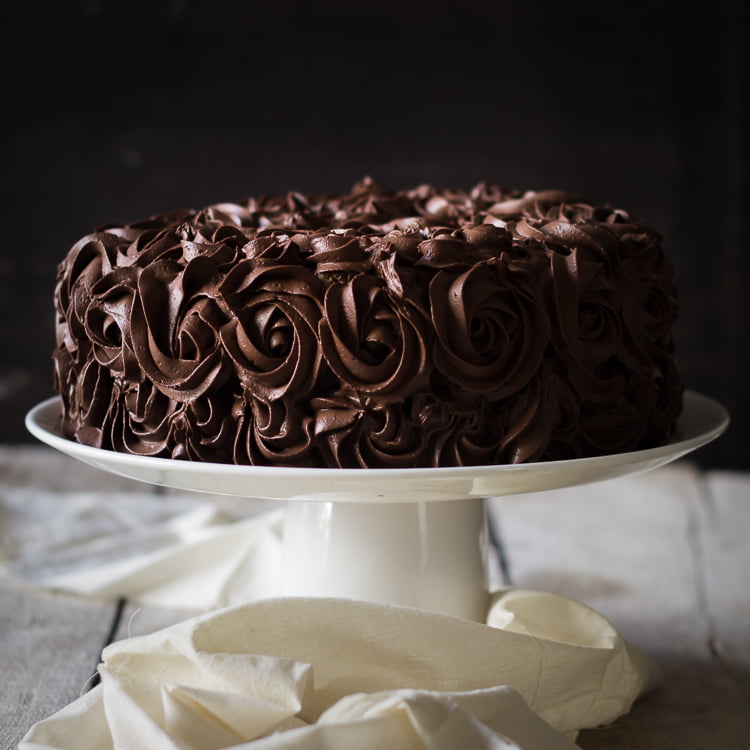
Some more of my theme cakes are here – hand painted cake, spiderman cake, race track cake.
My kids are going through the phase of Nerf war and gun-toting these days, which has been fueled further when Daddy dear got them a gun each from his travels.
Last week was the older one’s birthday and invariably, the request was to make a Nerf-inspired cake.
Though we didn’t host a party but a cake is a must, so I made it for him in the colors of the dart/ gun.
He is also discovering chewing gum which I abhor, but as a very rare treat, he manages to chew some.
So, I combined bubble gum flavor in the whipping cream and filled the cake with it.
For the outside, I colored the plain whipping cream to match the color of Nerf darts and I used colored ganache drip for the top.
I think I need a bit more work on colored ganache. Once I get the right colored ganache, I will surely share the recipe here.

Till then enjoy the cake as much as my kids did. Even V loved the cake – Delicious cake with bubble gum flavor and melt-in-the-mouth texture.
How to Make Eggless Nerf Gun Cake at Home?

Nerf Gun Cake
Ingredients
- 1 cup all purpose flour
- ½ cup +1 tbsp sugar granulated
- ⅛ cup +1 tsp cocoa powder unsweetened
- ¼ tsp baking soda heaped
- ¼ tsp salt
- ⅔ cup hot water
- 4 tbsp olive oil
- 2 tsp white vinegar
- 1 tsp instant coffee granules
- 1 tsp vanilla extract
- 60 ml sugar syrup for soaking
Instructions
- Pre-heat oven to 180 °C. Line the bottom of one 8 inch pan.
- Whisk together flour, sugar, cocoa, baking soda & salt in a large mixing bowl. Do not use a mixer as it will not aerate the dry flours.
- Combine water, oil, vinegar, instant coffee & vanilla in a separate bowl.
- Mix the wet ingredients into the dry ingredients and whisk them till they are just combined. Do not overmix. A smooth batter is not necessary, few lumps in it are fine. If you are adding any liquor, then add it now.
- Pour batter into the prepared pan. Gently tap the pan so air bubbles are removed and batter spreads evenly.
- Bake for 20-25 mins in the preheated oven. After about 18-20 minutes, insert a tooth pick towards the side of the pan. If it comes out clean, then cake is done.
- Cool the cake in the pan on the rack for 15 minutes, then invert it on the rack. Leave it upside down to cool, it helps in flattening any dome shape. I baked three layers by baking this recipe three times separately. And then froze the layers wrapped in cling film. Continue with assembling and frosting the cake.
Notes
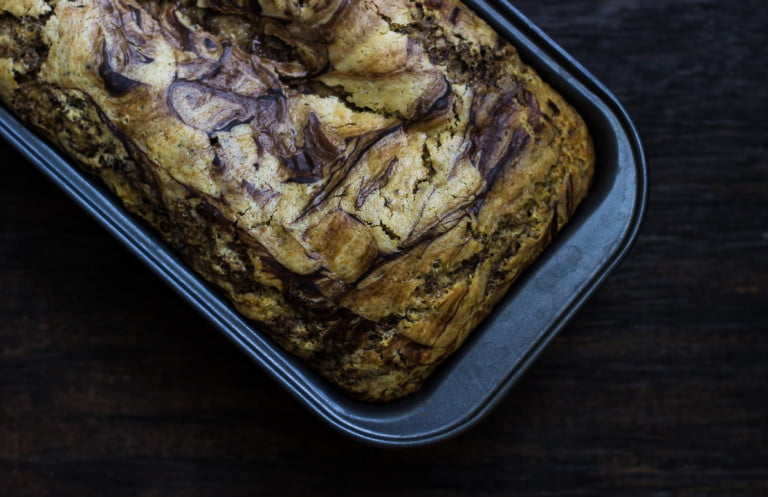
- Old fashioned chocolate cake is perfect as a moist base for frosting and layering cakes.
- Using coffee is optional.
Sugar Syrup
Ingredients
- ⅓ cup sugar granulated
- 1 cup water
Instructions
- Boil water & sugar together. Once it boils, lower the flame & allow it to heat for another 1 minute. Remove from heat & cool completely. It can be made in advance & stored in refrigerator.
- Use ⅓ cup of syrup to soak one layer of cake. If you are soaking White Cake then reduce the syrup per layer i.e. ¼ cup sugar in ¾ cup water. And soak each layer in ¼ cup syrup. With ⅓ cup syrup, I have found the cake to get over soaked.
for infusing flavor
- If you are infusing flavor like rose petals, then boil petals once sugar is dissolved for 5-10 minutes. Cool & strain. Continue to use for soaking and assembling.
Notes
- The more you soak the layers before filling, the more moist your cake will be.
- You can infuse this syrup with flavors of your choice. I have used it with dried rose cake by infusing it with 1 cup dried rose petals.
How to Assemble a Cake
Equipment
- piping bag, nozzles & levelling knife for decorating and finishing
- parchment paper or strips
Materials
- sugar syrup or chocolate syrup for soaking
- whipped cream or chocolate ganache or buttercream to fill & frost
- fruits, sprinkles, chocolate chips, etc for topping or filling
Instructions
- Move the frozen layers to refrigerator few hours before assembling. Place the first layer on a platter or cake stand.
- Make some holes into the bottom layer using a form. Soak the bottom layer in sugar syrup. Then lightly spread the filling of your choice like whipped cream or butter cream or chocolate ganache over it. Place the second layer on top of the bottom layer & repeat the process of soaking & spreading filling. Finally place the top layer & again soak it. Lightly spread the filling on top & sides of the cake making a crumb coat. Refrigerate the cake for 1 hour.
- Top it generously with chocolate ganache or any glaze or whipped cream or butter cream. Pipe design as you would like. Refrigerate the cake for at least 2 hours or overnight for flavors to set in. Serve chilled.
Notes
- You can whip the ganache before spreading as filling.
- The consistency of ganache for topping and filling is different. For filling, you need thick consistency (which you get by leaving the ganache at room temperature for few hours) and for pouring as topping, you need the ganache to be pouring consistency. You can re-heat/ warm up the ganache to adjust the consistency.
- I use soy-based ready-to-whip cream which is available in market. Transfer a small portion of cream in a large bowl or your stand mixer and beat till stiff peaks are achieved. Fill and frost as per your choice.


amazing